TRO TECH TIPS: WINTERIZE YOUR BIKE

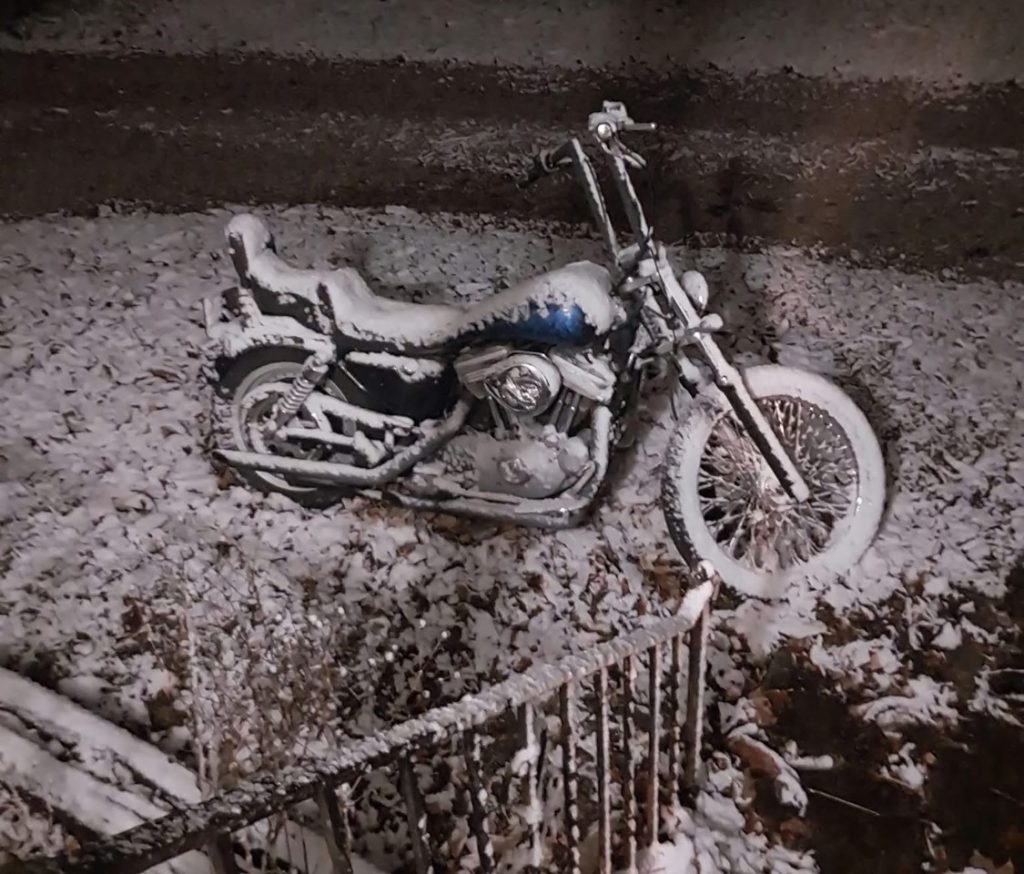
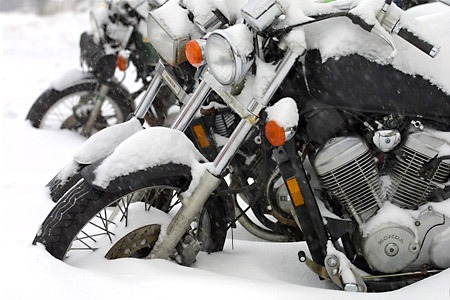
While I make every effort to ride year-round, the reality is that not only do I live in Ohio – I live in the “Snow Belt”. Some “hard core” riders scoff at the idea of storing your bike, but reality is that at the very least you will be riding her less. This is especially important if you have more than one bike.
One of the worst things you can do to your motorcycle – especially the engine – is to simply leave it sitting there. Rust starts to form everywhere, rubber seals and o-rings dry out and harden, and your gas degrades (especially if you have any Ethanol in it).
If you simply push your bike into the corner of your garage and walk away for a few months – don’t be surprised if it won’t run in the spring. If you want it to fire up and run first thing when you want it – you need to take care of it and properly winterize it.
The following is a general list of items that you should consider as you prepare your bike for storage. Of course, all bikes are different and many have unique needs. Check your manual or with a service tech for advice as to your bike’s specific needs.
The “stuff” you’ll need.
You will need, cleaning cloths, spark plug wrench, a trickle battery charger, four or five quarts of high quality oil, new oil filter, oil can or device to get oil in the cylinders, chain lube (if you have a chain drive), fuel stabilizer, spray can of WD40, a breathable motorcycle cover, kitchen plastic wrap, rubber bands, vinyl or plastic gloves, items to clean and wax your bike. Lastly, a nice location for the bike to spend the winter, a heated secure garage would be ideal. Avoid wind, dripping water, vermin, mildew, and chemical fumes.
1. Clean your Bike.
A gentle wash detergent and water will suffice. By removing road grime and insects you will protect the finish of the bike. Avoid spraying water directly into the opening of the muffler. If baffles get wet and are not dried prior storage, internal rust could result. Likewise avoid moisture in the air cleaner housing. If the housing becomes saturated, it could act as a choke, making your bike difficult to start. Use a blow dryer, leaf blower, or a commercial motorcycle blower to dry and then detail with a good chamois. Clean and polish all aluminum and stainless surfaces with the appropriate metal polish. Finally finish up with a coat of good wax polish on all painted and chrome surfaces. Clean the chain (if you have one). Spray off all the built-up residues with WD40. Lube the chain.

2. Add a fuel stabilizer to the gas tank.
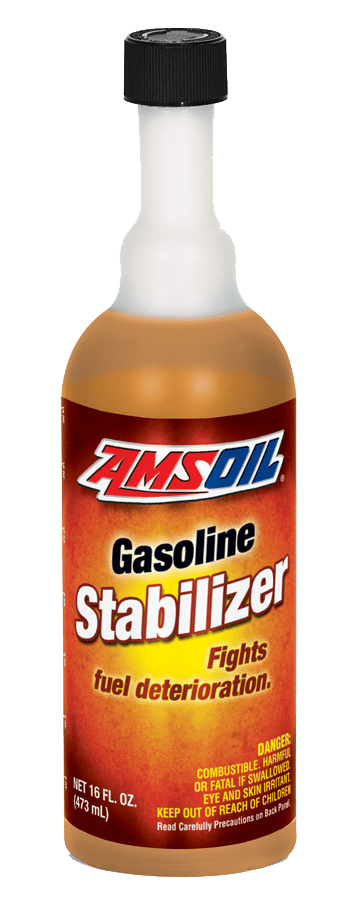
Fill your tank with gas as full as it can go. This is very important. As fuel ages, more volatile components tend to change, leaving sludge and gummy substances that can affect the carburetor. Run the bike so the gas and fuel stabilizer get to the carburetor and fuel injectors. Then turn off the fuel and run it dry.

It’s important to note that you DON’T want to leave any Ethanol blended gas in your tank for any extended period of time. The ethanol will absorb the moisture and develop a thick sludge within the tank.
3. Drain your Float Bowls, if you have a carburetor.
Shut off the gas petcock and drain the gas from the carburetor bowls. Consult your manual for location of drain screws. Of course, if you have a fuel-injected bike, there isn’t anything to drain.
4. Change your Oil
Oil chemistry changes over periods of extended storage. Old oil can develop acidic qualities, which can corrode engine parts.
5. Oil the front forks.
Using a “turkey baster” put oil over the stationary tubes on the front forks. Then get onto the bike and bounce the bike up and down, while holding the front brake. This will work the front suspension and spread the oil. The oil will keep the rubber seals from drying out and protect the exposed fork tubes.
6. Pull the Spark Plugs
Remove spark plug wires, and carefully with a spark plug wrench remove the plugs. With your oil-squirting device, get some motor oil in the cylinders. Approximately one teaspoon of oil will work well. Tuck the plug wires away somewhere safe so they do not arc, then spin the motor with the starter for a few revolutions to get the oil spread around. Remember to keep your face away from the spark plug holes. Oil will squirt out! Clean and gap the plugs and put them back in. Replace plug wires.
7. Remove the Battery
Some batteries may require charging every four weeks with a “Battery Tender” type of charger. Built up sulfates on the plates can ruin a battery during cold storage and inactivity. A thin coat of Vaseline to the terminals on the battery can prevent corrosion. This small step will mean an easier spring start up and no extra cost of battery replacement.
8. Check your coolant. (If you have a liquid cooling system on your bike.)
Check its level of anti-freeze with a hygrometer. Drain, flush and replace antifreeze if necessary. We suggest this replacement be done every two years. Do not leave the antifreeze level low or empty, this could lead to rust or corrosion of the cooling system. Check all other fluid levels at this time.
9. Check your Tires and Wheels.
Check the tire pressure. Adjust as needed and leave a reminder to check in Spring.
Cleaning the chrome and aluminum parts on your bike – especially rims – with a good polish will keep them relatively clean and easier for Spring clean up. A light coating of silicone lube will give limited protection while in storage. It will need to be washed off before taking out when the weather breaks.
10. Check the “little things”
Lube your cables. Lube suspension and pivot points. Lube the drive shaft (if you have one). Check the air cleaner and the fuel filter. Look at brake pads. Give your bike a good once over.
11. Clean and Treat all Leather and Vinyl
Detail your leathers with a cleaner or conditioner such as Eagle One Carnuba Leather Cream or Mother’s Leather Cleaner. While you have it out, this is a great time to clean up your leather riding gear as well. After the cleaner or conditioner is dry, buff with a soft cloth.
There are several good vinyl cleaners you can use – and then follow with a vinyl protector.
12. Protect the Metal
With a clean cloth, wipe good quality light machine oil over all the metal surfaces, except the disc brakes. Spray a little WD40 in the tailpipe(s). Cover your tail pipe opening and the air intake with plastic wrap and a rubber band. You can also cover drain hoses as well. This will prevent any opportunistic pests from making a cozy winter home in your bike.
13. Remove the Accessories
Take off any removable accessories, especially electronics or temperature sensitive items. If you have a “Temp Oil Gauge” dipstick – remove it and replace it with the original. Store the “Temp Gauge” in a warm place for the winter. Extreme temperatures may affect sensitive gauges and other equipment during winter storage. Why risk it?
14. Store the Bike
If your storage location is bare concrete, we suggest using a piece of plywood, MDF, or old thick carpet. This will insulate the bike from becoming damp. We also suggest storing your bike with all the weight removed from the wheels. A bike stand or some blocking works if you have a wheeled lift. A center stand and some blocking will work too. Do not store your bike near any ozone emitting devices, such as motors, freezers, furnaces or electric heaters. The gasses they create will deteriorate rubber parts.
Cover your motorcycle with a good breathable cover or a soft cotton bed sheet to keep the dust off. This does not prevent condensation from forming on your ride, but it keeps dust, etc. off the motorcycle.
DON’T run the engine for short periods of time over the storage period, this can lead to condensation due to engine and combustion byproducts in the oil. With the battery tender on there is no reason for this.

Read More of Our Magazines
Looking for more riding inspiration, tips, and event highlights? Explore our complete collection of past Reasons to Ride magazines in our Past Issue Bookshelf. Each issue is packed with valuable content for riders, including scenic routes, gear reviews, and updates from the motorcycle community.


